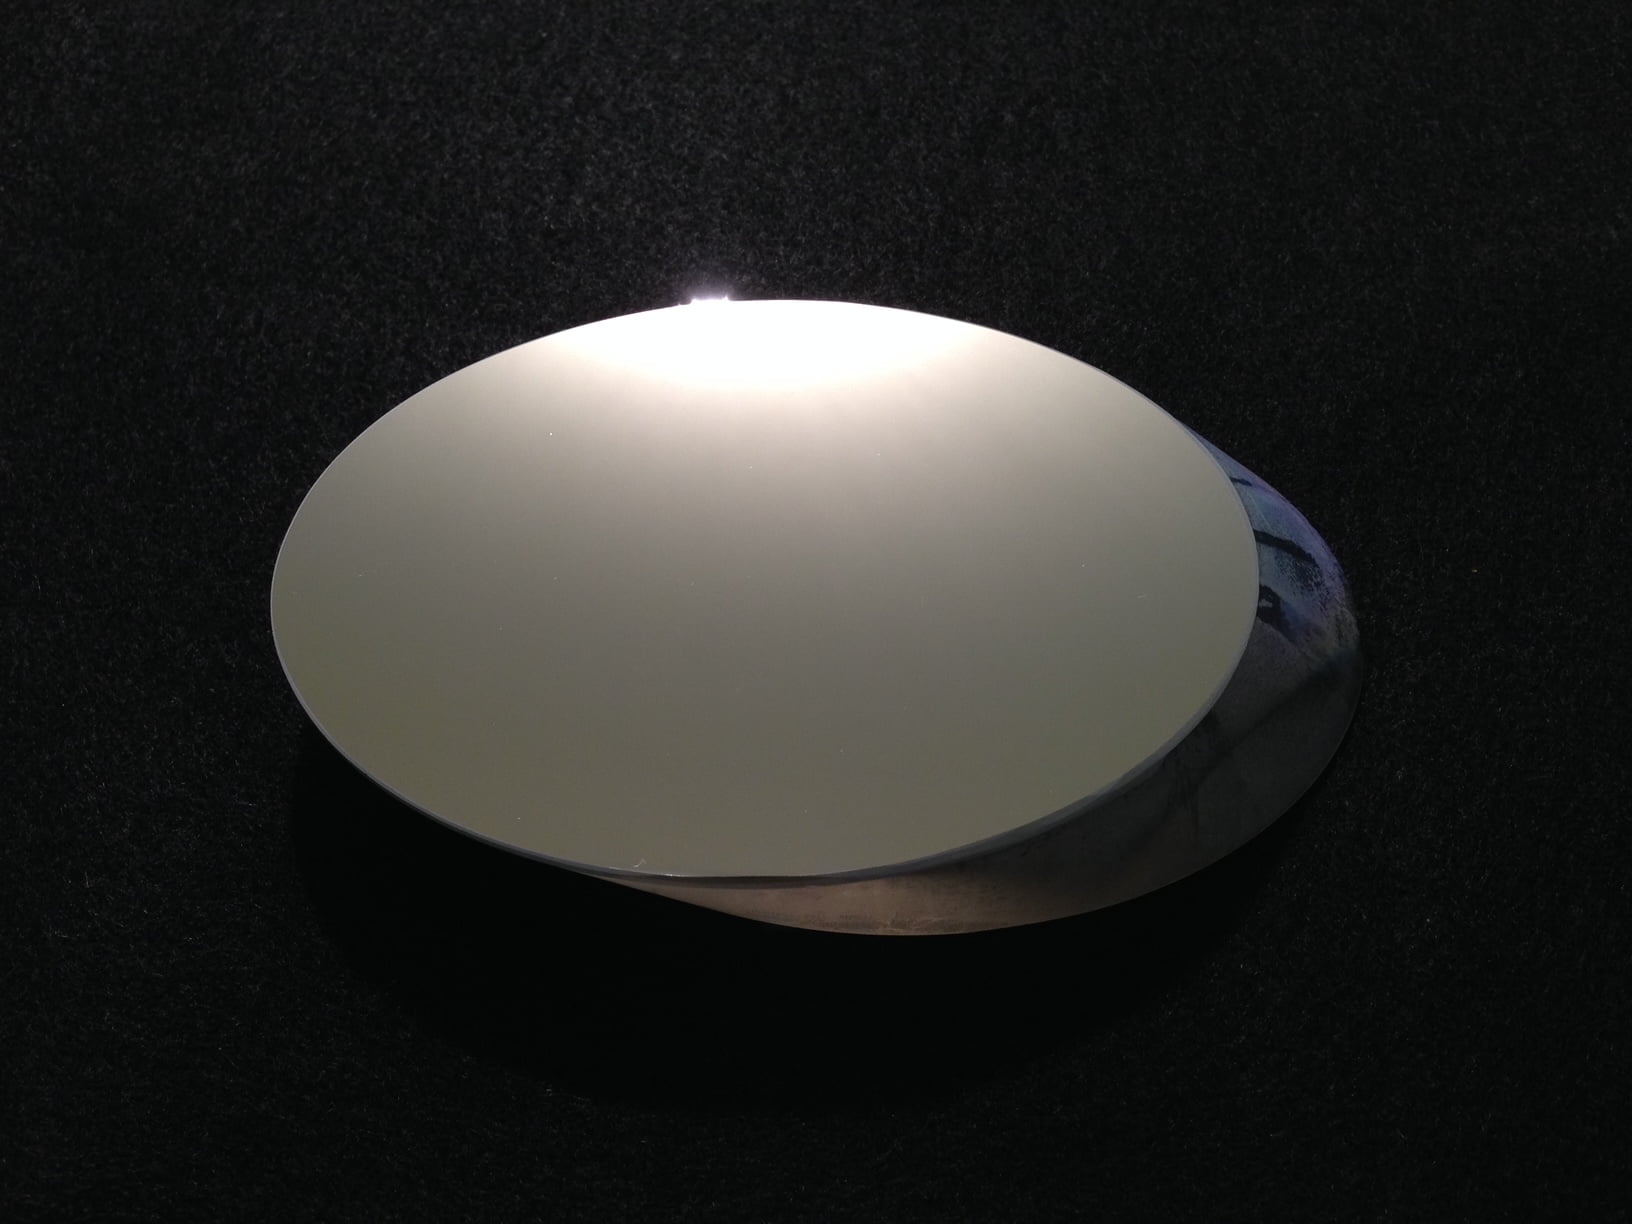
More About Secondary Elliptical Mirrors
The thickness of our mirrors are approximately:
- 1.30 inch all grades: Thickness 0.3”
- 1.52 inch all grades: Thickness 0.4”
- 1.83 inch all grades: Thickness 0.5”
- 2.14 inch all grades: Thickness 0.6”
- 2.60 inch all grades: Thickness 0.7”
- 3.10 inch all grades: Thickness 0.8”
- 3.50 inch all grades: Thickness 0.9”
- 4.00 inch all grades: Thickness 1.0”
- 4.25 inch all grades: Thickness 1.0”
- 4.50 inch all grades: Thickness 1.0”
- 4.75 inch all grades Thickness 0.65”
- 5.00 inch all grades: Thickness 1.0”
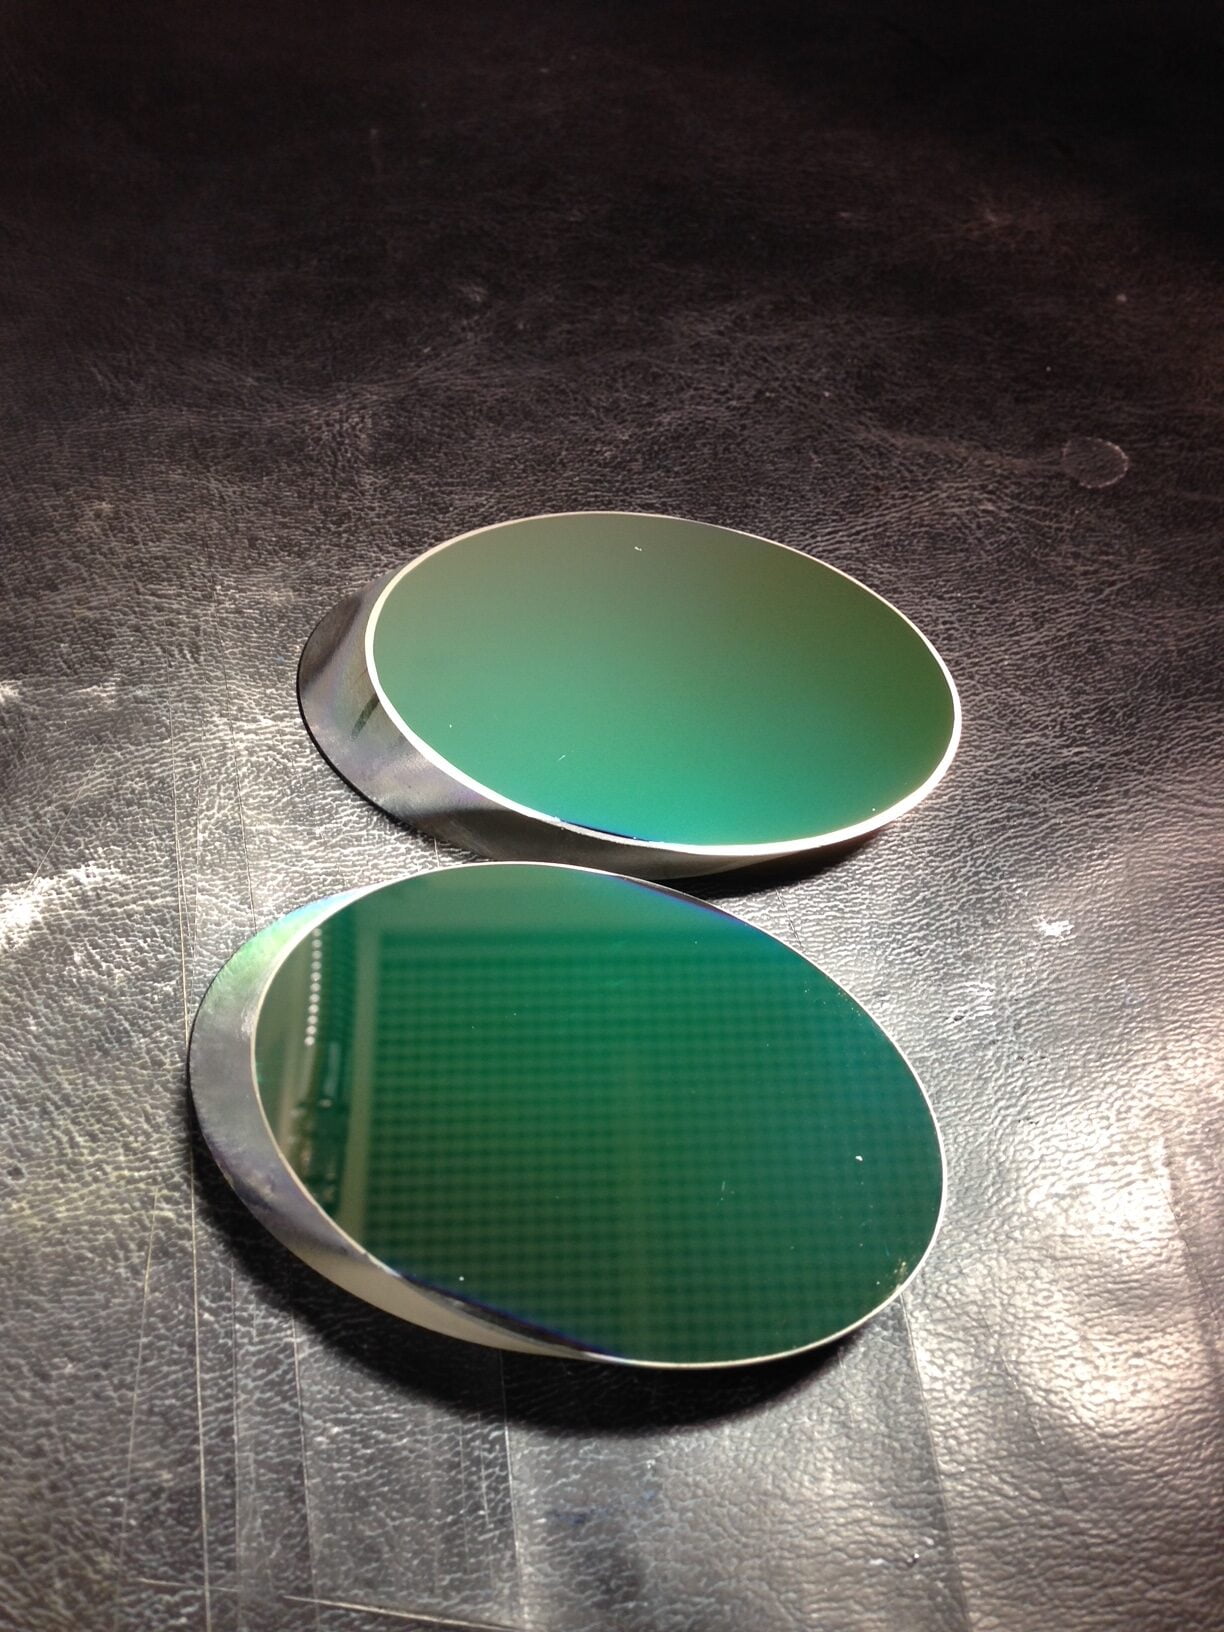
Our fine annealed supre max 33/ borofloat 33 are precision made. The polished flats are coated with enhanced aluminum. The result is durable and highly reflective (96-98%) finish.
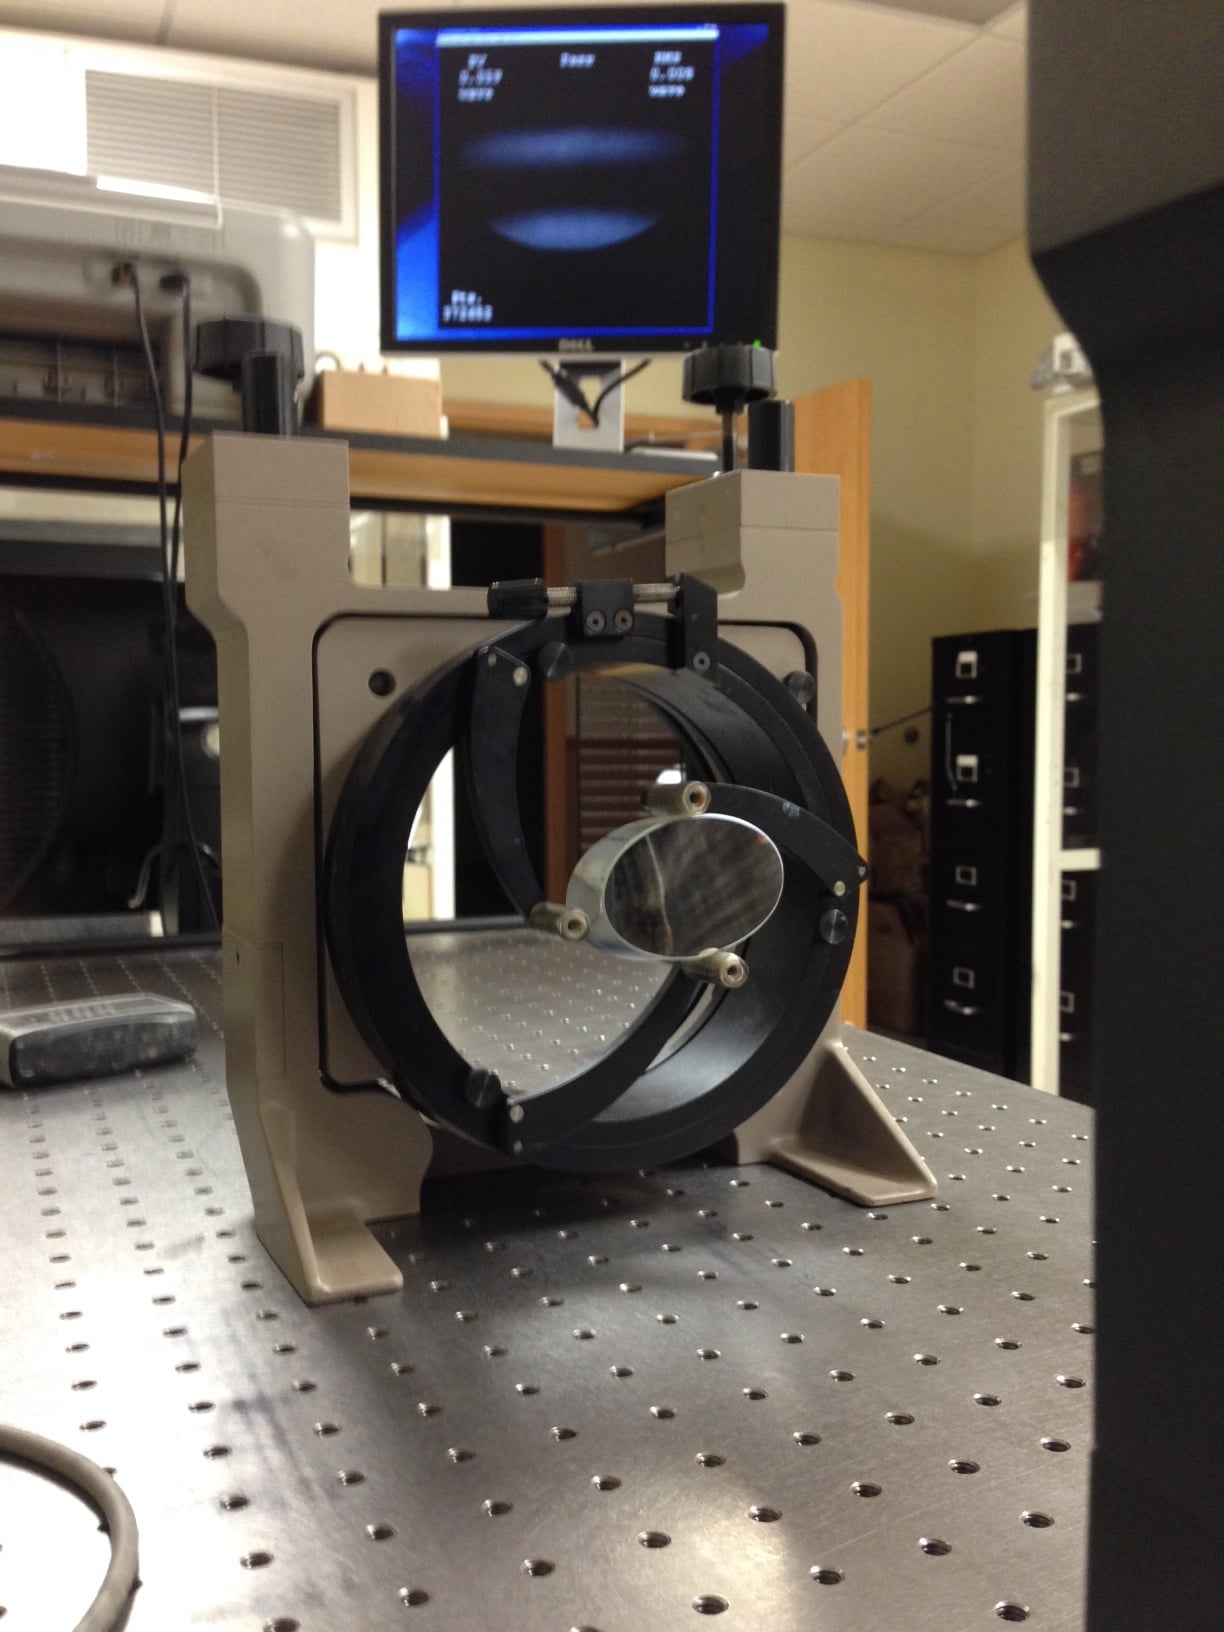
Many people are confused between the relationship of the peak-to-valley (PV) and root-mean-square (rms) results. This application note debunks the concept that PV and RMS have a fixed relationship and indicate general characteristics. What’s the difference between PV and RMS? Peak-to-Valley error (PV) is a worst case error statistic. Calculation of the PV error uses only the high and low point on the surface relative to the reference surface. Since this only compares two points on the surface, it is possible for two very different surfaces to have the same PV error. The PV error does have the advantage that it is very easily estimated visually from the interferogram. It has the disadvantage that one small dig, or other artifact in the surface, can cause the PV to be very large even though the optic may perform quite well.
Surface Accuracy
Entire books have been devoted to the subject of optical surface accuracy. This term is generally used (and misused) when referring to the quality of telescope mirrors. It’s stated in terms of a mirror being accurate to 1/4 wave, 1/8 wave, 1/20 wave, etc. A 1/20 wave mirror is more accurate than a 1/8 wave mirror, which is more accurate than a 1/4 wave. But what does it mean? To say that a mirror is accurate to 1/20 wave means that a beam of light does not vary by more than 1/20 the wavelength of light as a result of being reflected by the surface of the mirror. That’s a pretty small amount!
Let’s use simpler terms: this simply means that the greater the surface accuracy figure, the smoother is the surface of the mirror. But a mirror that’s accurate to 1/20 wave causes the error to double at the wavefront – where the light comes to a focus. So the true error of a 1/20 wave mirror in actual use is really 1/10 wave. Therefore, manufacturers prefer to tout their measure of surface accuracy. As the accuracy decreases, more of the light is scattered, instead of concentrating into the image at the focal point. This is further complicated by the fact that in a reflector, you have more than one mirror, so the accuracy can be further compromised if the other mirrors are not.
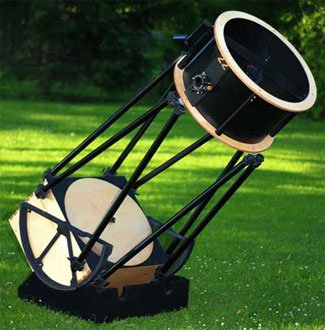
Various product reviews have shown that the mirrors are often not nearly as accurate as their manufacturers claim. Part of the problem is that there are several ways to measure this accuracy and many users don’t know how to test a mirror. The general criterion is that an optical system – the whole telescope – should be accurate to at least 1/4 wave at the point of focus. It’s only under very high magnification that greater accuracy becomes evident to most observers. (So it’s handy to know how to star test your telescope.) Simply bear in mind that if the surface accuracy of your mirror is 1/4 wave, then you’re already in trouble at the wavefront! Lenses used in a refractor also require high surface accuracy, but this is not as critical as in a mirror.
Annealing
You may see the statement that certain mirrors are made of “fine annealed” glass blanks. Annealing is the process of cooling the glass during manufacture at a rate that allows the entire blank to solidify at a uniform rate so that internal stresses are minimized. This directly affects the ability of the polisher to make extremely accurate surfaces. There are three grades of annealing – commercial, fine, and precision. Precision has the least internal stress. The fine grade is considered more than adequate for a mirror with a surface accuracy not exceeding 1/4 wave.
Types of Glass
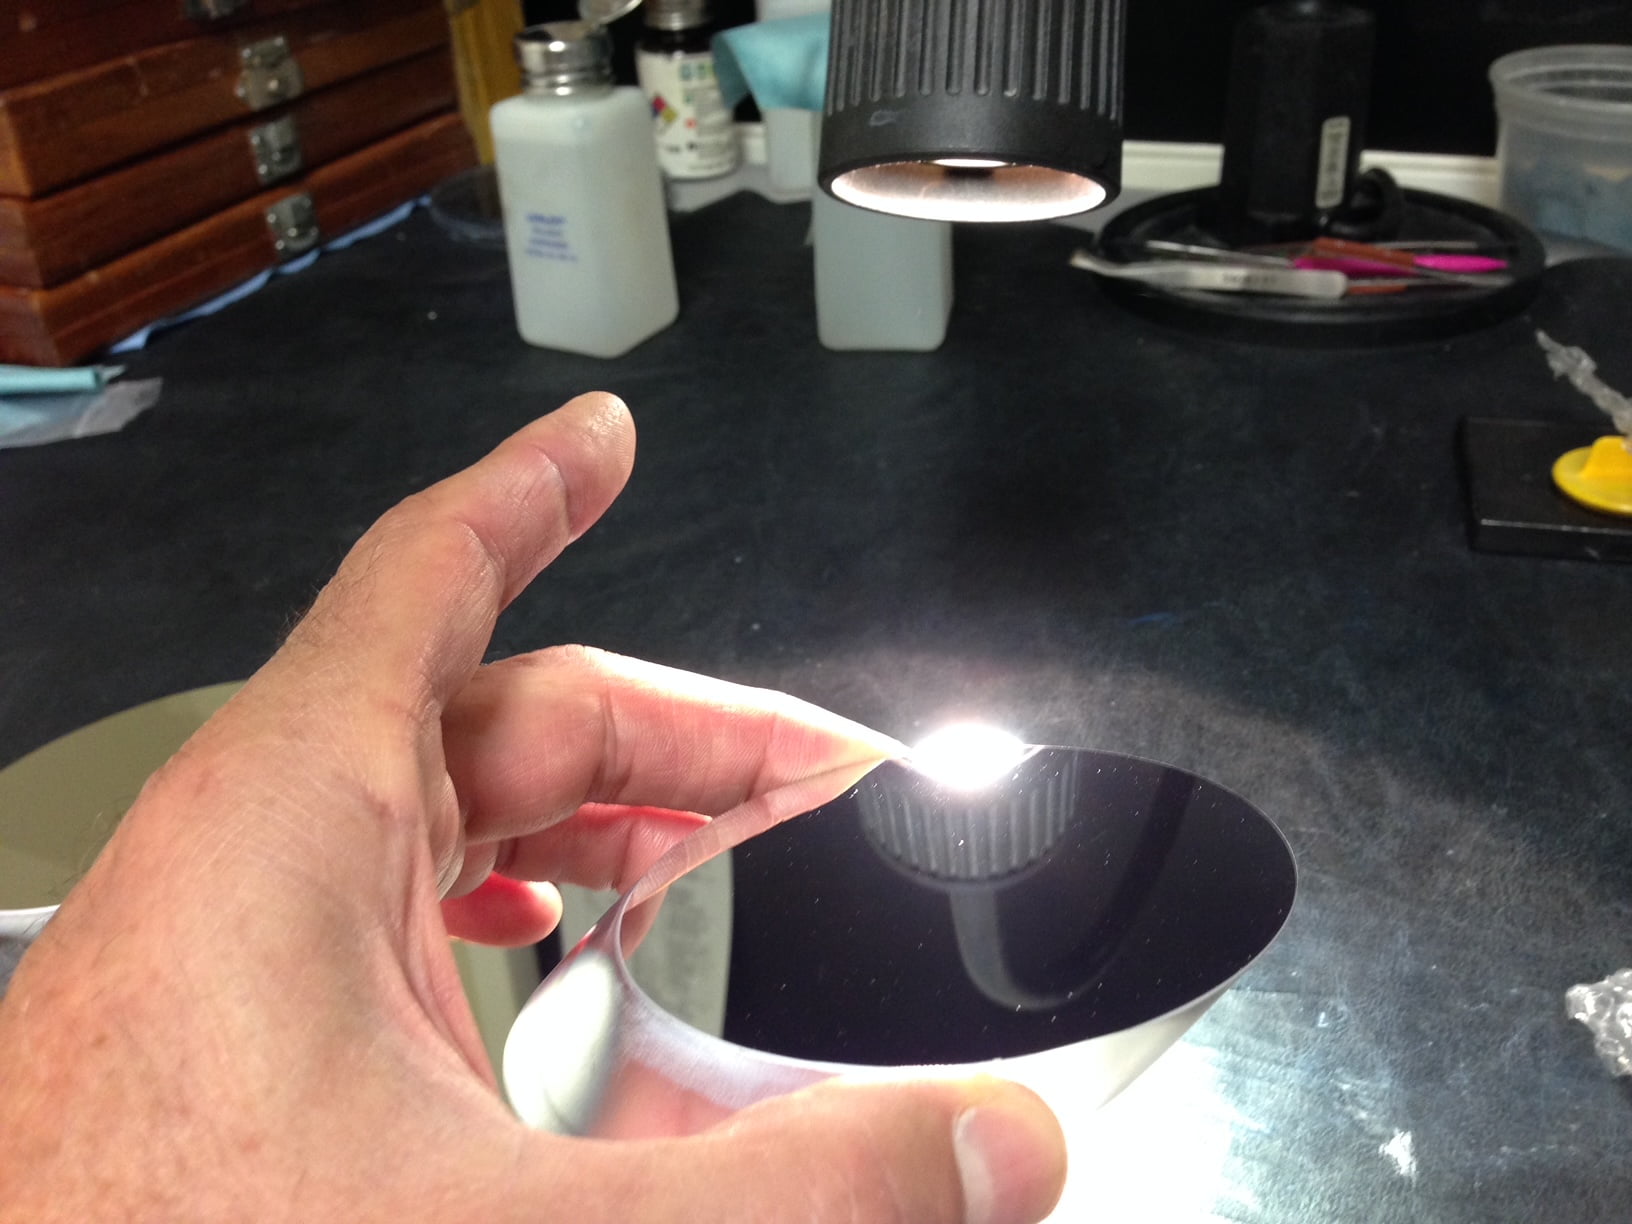
Supremax 33 / borofloat 33 is intended for mirrors, but is not sufficiently transparent for use as a lens. A lens or corrector plate requires rare earth glass or simply “optical” glass. Flint glass contains lead and has a strong dispersion level; it also has a slightly higher refractive index than crown glass. Fluorite and ED are further types. Water white plate is another type that, together with crown glass, is used for corrector plates in SCTs. Ceramic glasses for mirrors, such as “Zerodur”, have a lower coefficient of expansion than Supremax 33 / borofloat 33, which provides a more stable surface and less distortion due to temperature fluctuations. These glasses are a blend of crystalline structure with a normal glass structure. The material is first made as a glass, then held at a given temperature that permits the crystalline structure to develop. At a certain point, the temperature is changed, which terminates the crystalline formation.
